
DIY Hardwire Dash Cam for 24/7 Recording
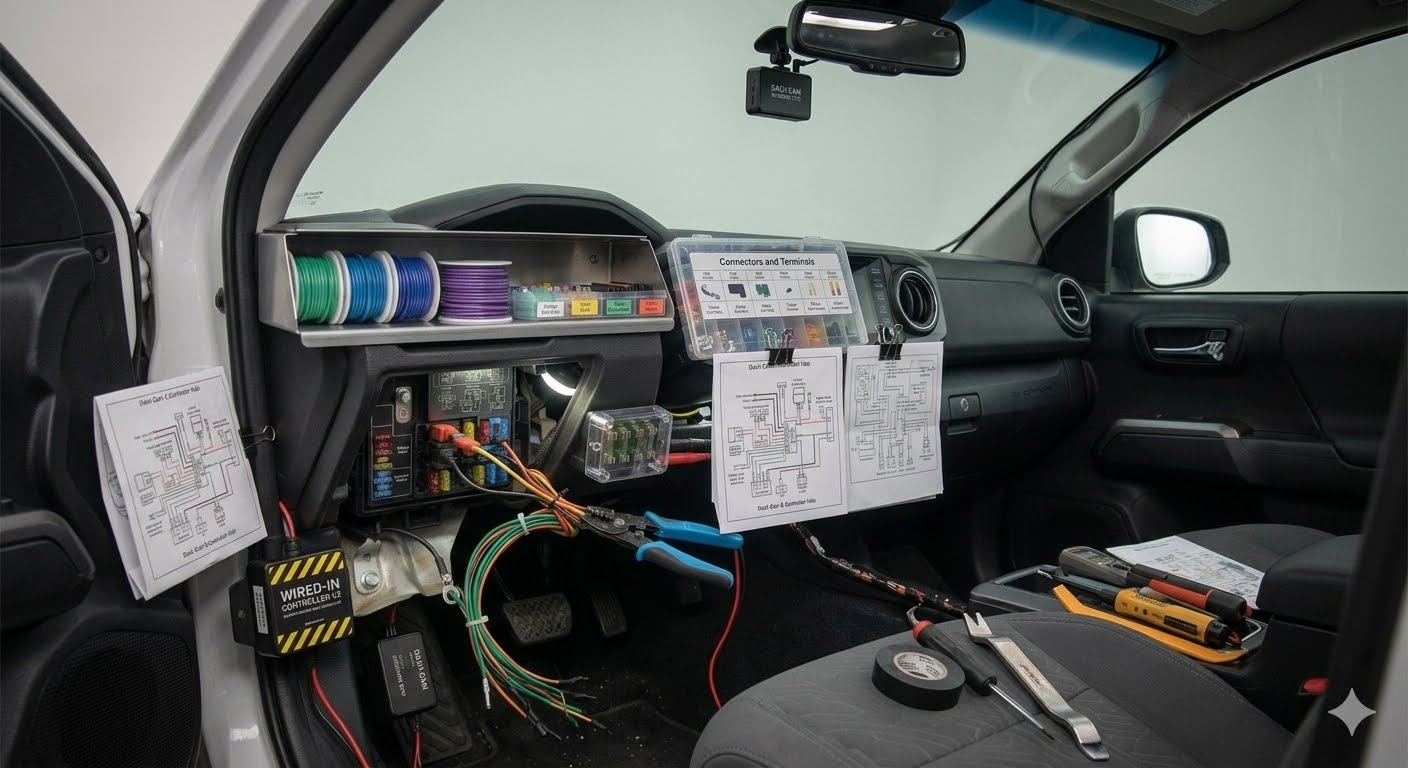
There is something deeply reassuring about knowing your vehicle is protected even when you are nowhere near it. A quiet street at midnight. A crowded parking lot under a gray afternoon sky. A driveway that feels safe until one strange thing happens. That is exactly why so many drivers are choosing a hardwired setup for continuous protection. If you want your recording system to stay on when the engine is off, a DIY installation can give you confidence, control, and real peace of mind.
A standard plug-in setup works for basic driving footage, but it usually powers down when the ignition turns off. A hardwire installation changes that. It connects your camera system directly to the vehicle’s fuse box, allowing parking mode or around-the-clock monitoring, depending on your configuration. For anyone who has ever returned to a scratched bumper with no note attached, that level of protection can feel almost priceless.
Why a Hardwired Dash Cam Makes 24/7 Recording Possible
A hardwired dash cam draws power from your vehicle more efficiently than a cigarette-lighter adapter. More importantly, it can be connected in a way that supports constant power, ignition-switched power, and a proper ground. That combination allows the camera to know when you are driving and when the vehicle is parked.
Most modern hardwire kits also include a low-voltage cutoff. This feature is vital. It helps prevent the car battery from draining too far by shutting the camera off when voltage drops below a safe threshold. In other words, you get protection without waking up to a car that will not start.
There is also a cleaner, more professional look. No cable draped across the dashboard. No dangling wire catching your eye every time you drive. Everything can be tucked behind trim panels, giving the interior a neat finish that feels intentional.
What You Need Before You Install a Dash Camera
Before touching the fuse box, gather the right tools. The process is manageable, but it becomes much easier when everything is ready.
You will usually need:
– A dash camera and compatible hardwire kit
– Fuse taps that match your vehicle’s fuse type
– A trim removal tool
– A circuit tester or multimeter
– Needle-nose pliers
– Electrical tape or zip ties
– Your vehicle owner’s manual
It also helps to understand your camera’s parking mode requirements. Some units use motion detection. Others rely on impact sensing or buffered recording, which captures a few seconds before and after an event. If you are investing your time in this project, it makes sense to know exactly what protection you are getting.
There was once a friend who tried to depict a parking-lot accident from memory after discovering damage on the rear door. The story kept changing with every retelling. Was the other car blue, gray, or silver? Did it happen near the cart return or closer to the entrance? Memory can blur when emotions rise. Video does not blur in the same way. That small moment says everything about why reliable recording matters.
Step-by-Step Guide to Hardwiring Your Dash Cam
Start by choosing the mounting position. The best spot is usually high on the windshield, near or behind the rearview mirror. That location gives a clear road view without distracting you while driving.
Next, plan your cable route. Most people run the power cable along the top edge of the windshield, down the A-pillar, and toward the fuse box. In many vehicles, the fuse box is located beneath the dashboard or in the side panel near the driver’s seat.
Before routing wire down the A-pillar, be careful around airbag areas. You do not want a cable interfering with safety equipment. Tuck the wire behind trim gently and avoid forcing it into tight places.
Now identify three key connections from the hardwire kit:
– Battery or constant power wire
– ACC or ignition-switched power wire
– Ground wire
Use your circuit tester or multimeter to find a fuse slot with constant power and one with ignition-switched power. The owner’s manual will help locate suitable circuits. Good choices are often accessory-related circuits, but you should avoid anything critical to core safety systems.
Attach the fuse taps, insert the proper fuses, and connect the wires from the kit. Then secure the ground wire to an unpainted metal bolt connected to the vehicle chassis.
Once everything is connected, plug the kit into the camera and test it. Start the car. Check for normal operation. Turn the car off. Wait a moment and verify that parking mode or standby recording activates correctly.
At this point, tidy the wiring with zip ties and reinstall any trim panels you removed.
Avoiding Common Mistakes with a Dash Cam Hardwire Setup
The biggest mistake is choosing the wrong fuse slots. If the camera does not switch modes properly, or if it stays on when it should not, the power sources may be mixed up. Testing carefully saves frustration later.
Another common issue is ignoring battery protection settings. Your hardwire kit may allow different voltage thresholds or timer settings. Choose a setting that matches your climate, battery health, and driving habits. If your vehicle sits unused for long periods, conservative settings are usually smarter.
Cable placement also matters more than people expect. A loose cable can rattle, shift, or create an untidy appearance that slowly becomes annoying. Take the extra few minutes to secure everything properly.
One driver once called a family photo stored in the glove box precious because it had survived years of road trips, coffee spills, and summer heat. That same driver later discovered a hit-and-run in a supermarket parking lot and felt the same protective urgency about the car itself. Some things are precious not because they are expensive, but because they carry your everyday life. Your vehicle often holds those moments.
Understanding Vehicle Safety and Installation Comfort
If the trim feels stubborn or the routing path seems awkward, slow down. Rushing is what turns a simple project into a stressful one. Even the body has a lesson here. The epaxial muscles, which run along the spine, help support posture and controlled movement. A mechanic once joked after an hour bent awkwardly under a dashboard that every hidden muscle had started speaking up. It was funny, but true. Good posture, patience, and careful movements make this kind of install much more manageable.
When DIY Makes Sense and When to Get Help
A DIY hardwire project is ideal if you are comfortable using a fuse tester, removing trim gently, and following instructions closely. It can save money and leave you with a satisfying sense of ownership over the result.
But there is no shame in getting professional help if your vehicle has complex electronics, difficult trim, or a warranty concern. The goal is dependable protection, not unnecessary stress. Whether you install it yourself or have a shop do it, what matters is that the system works reliably every day and every night.
The real beauty of 24/7 recording is simple. It watches when you cannot. It remembers when you are shaken. It offers clarity when the unexpected hits. A hardwired setup takes a basic camera and turns it into a quiet guardian for your vehicle. With the right tools, some patience, and a careful approach, you can create a cleaner installation and stronger protection that stays with you long after the engine stops.


