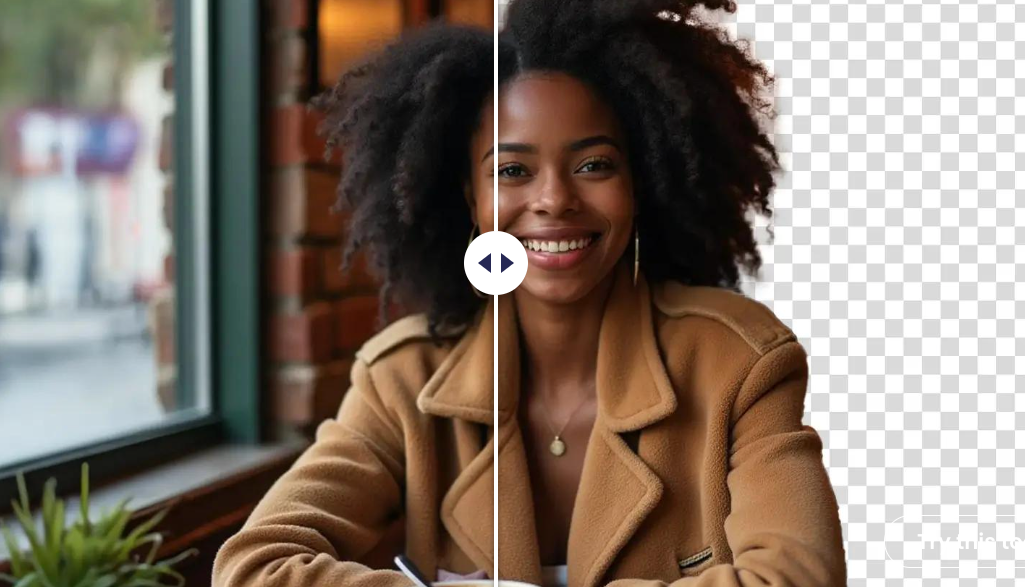
AI Change Background – A Quick Guide To Cleaner Photos And Bolder Stories

Background replacement used to mean layers, masks, and a lot of patience in a pro editor. Today, AI handles the heavy lifting – it identifies the subject, cuts it out with hair level precision, and drops it onto a new scene in seconds. In this short guide, you will learn how AI background change works, when to use it, and how to get pixel clean results with one example of such a service from DRESSXME AI Change Background.
Step into any scene with an AI background changer and turn everyday shots into polished visuals – from product pages to cinematic posters.
What AI background change actually does
Modern models analyze edges, skin, hair, and semi transparent areas, then create a high fidelity mask. That mask is applied to your photo so you can remove the original environment and replace it with a solid color, an uploaded backdrop, a stock scene, or a branded template. The goal is consistency – clean, on brand images that look like they were shot in the same studio, even when they were not.
Step by step – how to change a background
- Pick a strong source photo
Use a sharp, well lit image. Aim for 2000 px on the long edge or more. Avoid heavy motion blur or extreme shadows. - Open the tool
Go to https://dressxme.com/change_background/. Upload your photo and let the model detect the subject. - Refine the cutout
Most times the auto mask is perfect. If needed, nudge the edges – especially around hair, ears, and fine accessories – so the silhouette feels natural. - Choose your new background
- Solid color for e commerce consistency
- Prebuilt scenes for lifestyle shots
- Your own image – a branded wall, a gradient, a subtle texture
- Solid color for e commerce consistency
- Match the look
Slightly adjust scale, horizon, and perspective so the subject sits believably in the scene. Add a soft drop shadow if the image looks like it is “floating”. - Export and reuse
Save as PNG if you might reuse the cutout on other backgrounds, or JPG for final delivery. Keep a master copy for future edits.
Where background replacement shines
- E commerce catalogs – unify thousands of product photos with the same backdrop, seasonal variants, or regional themes.
- Professional headshots – swap a cluttered room for a clean studio or tasteful office scene for LinkedIn, CVs, and press kits.
- Social ads and creatives – design A B tests fast by changing the setting, palette, or mood without reshoots.
- Events and campaigns – build consistent visuals for launches, holidays, or city focused series.
- Education and slides – create clearer diagrams, thumbnails, and course assets with distraction free backgrounds.
- Meme and fan art – place characters into new locations for playful remixes and story frames.
Pro tips for seamless results
- Light direction matters – pick backgrounds with a similar light angle and intensity to your subject.
- Mind color casts – if the original had warm light, add a subtle warmth to the new backdrop or cool the subject slightly.
- Keep scale believable – align eye level lines and make sure props in the scene feel proportionate.
- Texture beats perfection – ultra flat backgrounds can look artificial. A gentle gradient or paper grain reads more natural.
- Stay consistent – define a small set of brand approved backgrounds and reuse them for a cohesive feed.
Tools to try
- DRESSXME AI Change Background – quick removal and replacement in a few clicks.
- remove.bg – fast automatic cutouts for people and products.
- Adobe Express – browser based background remover and changer with templates.
- Canva – background remover plus a large library of scenes and gradients.
- Kapwing – handy for images and short video clips.
- Fotor – easy presets for instant backdrop swaps.


